
MCP Server auto-registers Manual
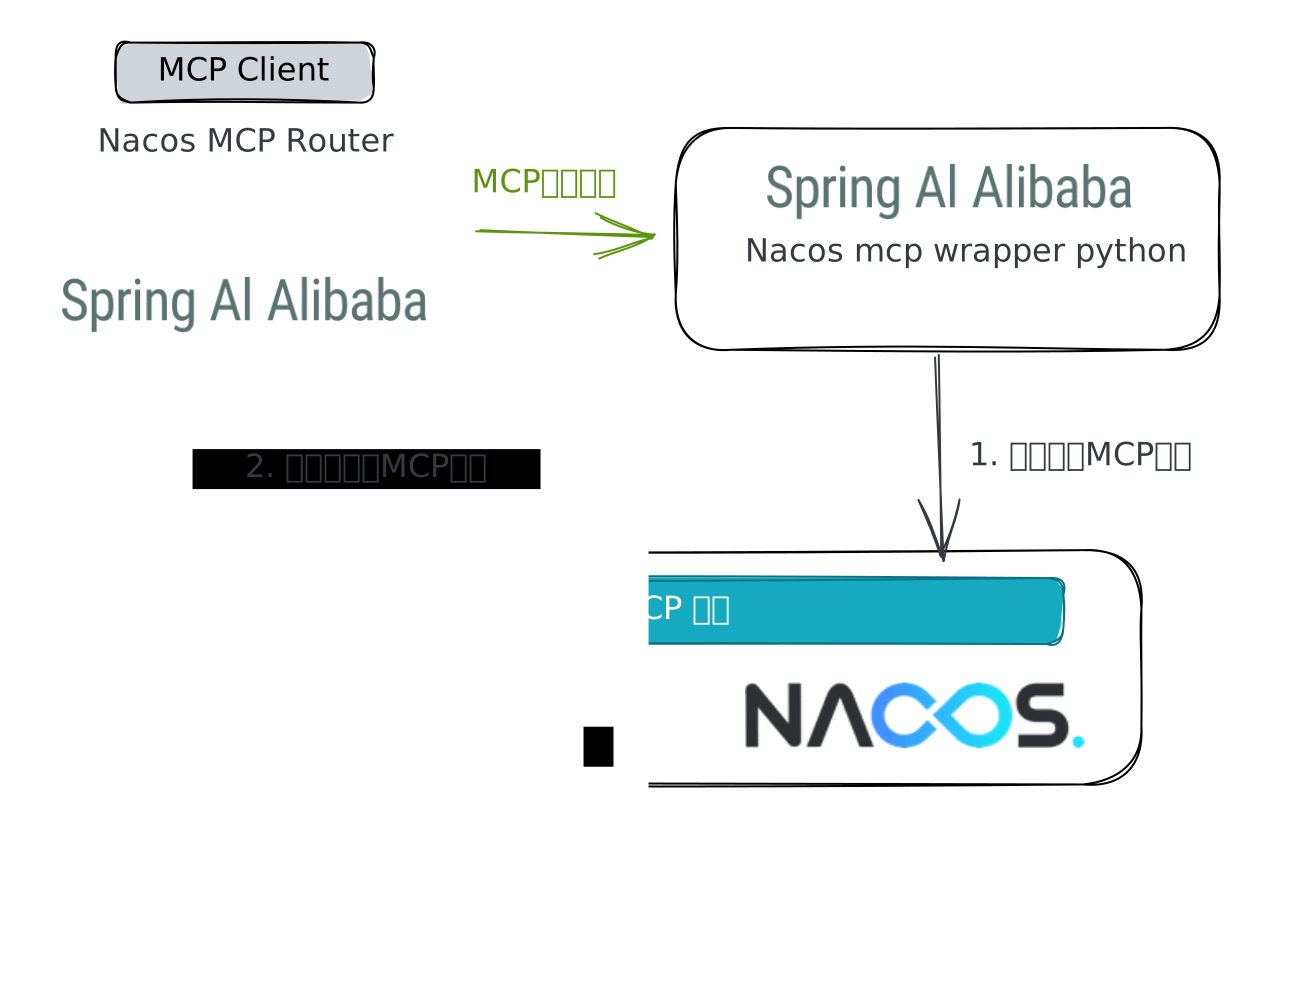
By developing an MCP Server using the Spring AI Alibaba framework or the Nacos MCP Wrapper Python, the server can be dynamically registered into Nacos after startup and supports the following capabilities:
- Dynamic MCP Server Registry: Add, delete, update, and query service information via the MCP service list
- Dynamic Description Updates: Tool descriptions and parameter definitions support runtime hot updates without requiring a service restart
- Dynamic On/Off for MCP Server Tools: Enable or disable tools at runtime without restarting the service
- Full-Stack Integration: Service registration information is automatically synchronized to the Nacos configuration center and service discovery module, adapting to AI Agent invocation requirements
For MCP drafts, review, and publishing in 3.3, see MCP Registry. Whether automatic registration creates a draft depends on the framework and parameters. Existing direct registration retains compatibility behavior; enabling Pipeline does not automatically add review. Changes through the new lifecycle APIs require a new version draft and publication; runtime propagation depends on the integration component.
Nacos 3.3 enables client authentication by default. Automatic registration and discovery require a Nacos account with the appropriate permissions. Do not leave the credentials empty or assume the password is nacos. The Spring configuration and Python code below read credentials from NACOS_USERNAME and NACOS_PASSWORD; set them before starting the application. See Access Credentials for account and permission setup.
Developing an MCP Server Using Spring AI Alibaba Nacos MCP Framework
1. Dependency Configuration
<dependency>    <groupId>com.alibaba.cloud.ai</groupId>    <artifactId>spring-ai-alibaba-starter-nacos-mcp-server</artifactId>    <version>{version >= 1.0.0.1}</version></dependency>
<!-- MCP Server (WebMVC) --><dependency>    <groupId>org.springframework.ai</groupId>    <artifactId>spring-ai-starter-mcp-server-webmvc</artifactId>    <version>{version >= 1.0.0-RC1}</version></dependency>
2. Service Definition (Example)
@Servicepublic class WeatherService {
  @Tool(description = "Get weather information by city name")  public String getWeather(@ToolParam(description = "City name") String cityName) {    return "Sunny in " + cityName;  }}
3. Auto-registration Configuration
spring: application: name: mcp-nacos-registry-example ai: mcp: server: name: webmvc-mcp-server # MCP service name version: 1.0.0 # Service version type: SYNC # Invocation type: SYNC (synchronous) or ASYNC (asynchronous) alibaba: mcp: nacos: server-addr: # Replace with your Nacos address namespace: public # Nacos namespace ID (default is 'public') username: ${NACOS_USERNAME} password: ${NACOS_PASSWORD} registry: enabled: true # Whether to enable service registration4. Service Startup
@SpringBootApplicationpublic class Application {
    public static void main(String[] args) {        SpringApplication.run(Application.class, args);    }
    @Bean    public ToolCallbackProvider weatherTools(WeatherService weatherService) {        return MethodToolCallbackProvider.builder().toolObjects(weatherService).build();    }
}
Developing an MCP Server Using Nacos MCP Wrapper Python
1. Environment Setup
pip install nacos-mcp-wrapper-python2. Auto-registration Configuration
import osfrom nacos_mcp_wrapper.server.nacos_settings import NacosSettings
nacos_settings = NacosSettings()nacos_settings.SERVER_ADDR = "127.0.0.1:8848" # <nacos_server_addr> e.g. 127.0.0.1:8848nacos_settings.NAMESPACE= "public" # Nacos namespace IDnacos_settings.USERNAME = os.environ["NACOS_USERNAME"]nacos_settings.PASSWORD = os.environ["NACOS_PASSWORD"]
3. Code Implementation
import osfrom nacos_mcp_wrapper.server.nacos_mcp import NacosMCPfrom nacos_mcp_wrapper.server.nacos_settings import NacosSettings
# Create an MCP server instancenacos_settings = NacosSettings()nacos_settings.SERVER_ADDR = "127.0.0.1:8848" # <nacos_server_addr> e.g. 127.0.0.1:8848nacos_settings.USERNAME = os.environ["NACOS_USERNAME"]nacos_settings.PASSWORD = os.environ["NACOS_PASSWORD"]mcp = NacosMCP("nacos-mcp-python", nacos_settings=nacos_settings, port=18001)
# Register an addition tool@mcp.tool()def add(a: int, b: int) -> int:    """Add two integers together"""    return a + b
# Register a subtraction tool@mcp.tool()def minus(a: int, b: int) -> int:    """Subtract two numbers"""    return a - b

if __name__ == "__main__":    try:        mcp.run(transport="sse")        # mcp.run(transport="stdio")        # mcp.run(transport="streamable-http")    except Exception as e:        print(f"Runtime error: {e}")
For more usage examples, please refer to https://github.com/nacos-group/nacos-mcp-wrapper-python/tree/main
Dynamically Updating Tool Status and Descriptions in Nacos
After the MCP Server is automatically registered into Nacos, you can dynamically change the description and enable/disable status of the MCP Server Tools on the console. These changes will take effect at runtime on the MCP Server without requiring a service restart.

Frequently Asked Questions
- Error
mcp server info is not compatibleorcheck mcp server compatible falseoccurs during startup
This issue occurs when there is already MCP Server data of the same version in Nacos, and the newly registered MCP Server data is incompatible with the existing one. Please ensure compatibility between the auto-registered MCP Server and the corresponding data in Nacos, including:
- Consistent MCP Server protocol (stdio, sse, streamable)
- Consistent service references
- Consistent tool data (tool names, number of tools, parameter types, optional parameters). Note that tool descriptions and parameter descriptions are not required to match.